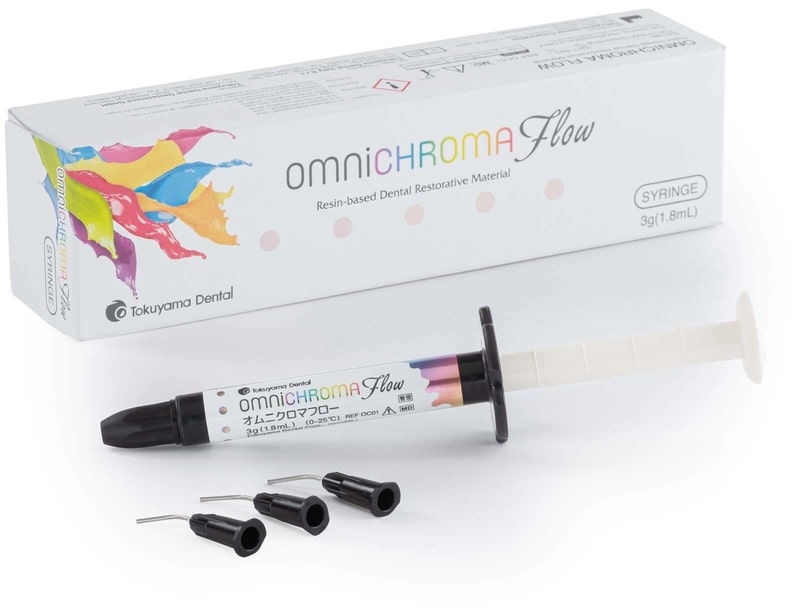
A 56-year-old female patient complained of a chipped upper right central incisor. Tooth #8 had a chip on the incisal edge and was very sharp (Fig. 1). The patient also didn’t like the looks of the chipped tooth. The patient was informed that when the front teeth wear down, the remaining enamel is thin, brittle, and unsupported. That way if the restoration chips again, the patient won’t be too surprised. This also helps to encourage the patient to not chew hard food, bite fingernails, or other deleterious habits that may cause the restoration to fail. The material selected for this procedure was OMNICHROMA Flow and complementary OMNICHROMA BLOCKER Flow (Tokuyama Dental). This material will take on the shade of the surrounding enamel and works extremely well for small restorations, such as this clinical case.
Fig. 1. Chipped incisal edge of tooth #8.
TREATMENT
There was no need to take a shade, as OMNICHROMA Flow matches the color of the tooth automatically. The anesthetic was not used for this procedure, since there was no decay and the restoration was mostly in enamel. The tooth was beveled with a diamond bur on all the margins to help blend the restoration and to have a greater bond to the enamel. The enamel margins and the restorative surface were both acid etched (35% phosphoric acid). The tooth was then thoroughly rinsed with water and air dried. Next, a bonding agent (Bond Force, Tokuyama Dental) was applied in two applications on the restorative surface and slightly beyond the margins. The tooth was then light cured.
To avoid show-thru of the restoration, OMNICHROMA BLOCKER Flow was placed on the lingual surface in a thin layer (0.5 mm). A putty matrix had been made on the lingual-incisal area to create a lingual shelf to accurately hold OMNICHROMA BLOCKER Flow in place until it could be light cured (Fig.2, 3).
Fig. 2. The putty matrix was made. Since a small chip, a spoon excavator was used to trim the putty material to the correct shape.
Fig. 3. OMNICHROMA BLOCKER Flow was applied to the putty matrix.
Fig.4. Shown with the putty matrix out to see the area OMNICHROMA BLOCKER Flow occupies.
Next, OMNICHROMA Flow was injected into the restorative area and slightly beyond the margins, filling the entire restoration. The new restoration was then thoroughly light cured on both the facial, lingual, and incisal directions (Fig. 5,6)
Fig. 5. OMNICHROMA Flow was placed in one layer to fill the entire restoration.
Fig. 6. The restoration immediately after light curing.
The lingual area of the restoration was adjusted with a “football” shaped carbide bur on a high-speed handpiece. There was very little to reduce as the putty matrix accurately shaped the lingual area. The incisal and facial areas were contoured with sandpaper discs (Soflex-XT, 3M). A coarse disc was used to establish the primary anatomy and then a successive series of finer discs was used to obtain a high polish. A high polish was achieved with the blue and pink rubber cups (Medium & Fine Flexi cups, Cosmedent). A Jiffy Brush was used to obtain a very high polish.
CONCLUSION
The patient was very happy to have her tooth looking natural again. She said, “I can’t even see where the filling is, it looks like nothing ever happened!” It was also very convenient to have all this done in 20 minutes. The convenience of having a single shade of composite material (OMNICHROMA Flow) saves time and helps to keep the amount of composite material in stock way down.


