INTRODUCTION
The world of dentistry has been experiencing seismic shifts over the last 20 years with advances in technology and materials. According to Prof. Daniël Wismeijer, “Dentistry is developing to a world where patients and in-mouth products are analog, but everything in between becomes digital.” Our ability to digitally acquire data and utilize it to efficiently design, print, and manufacture all sorts of restorations continues to grow on a yearly basis. In addition, dental practices are experiencing the benefits of less patient discomfort, improved time efficiency, simplified procedures for the dentist, no more plaster casts, and better communication with the lab technician and the patient in terms of planning and satisfaction.1 Another major benefit is achieving more predictable outcomes utilizing digital scanning with an 80% reduction in returns for margin errors, 60% reduction in returns for occlusion, 55% reduction in returns for fit issues, and a 30% overall reduction in remakes.2 On the downside of the equation, dental businesses are faced with the conundrum of “faster and better,” obsolescence vs good enough, costs and return on investment, and the ongoing challenge of training of personnel.
The good news is that with a systematic, methodical approach, you can minimize those shortcomings and get your team past the mechanics of scanning and printing while also providing value to your patients so that they “see” complex data become simplified in real time and provide proactive preventative solutions that motivate them to take action collaboratively. Such is the case with orthodontics and smile design.
Even better, how about being able to handle emergencies that used to require time-consuming pouring and mounting models to ultimately wax-up new teeth. Many would send that to a lab to make that happen. Now your team can scan the mouth, and you can put those digital files into design software to digitally wax-up new teeth and print a model in less than 90 minutes. That saves time and costs. More importantly, your emergency patient gets a better service. Such is the case that is being shared below.
CASE REPORT
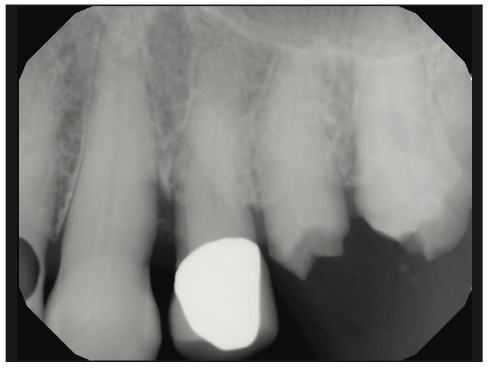
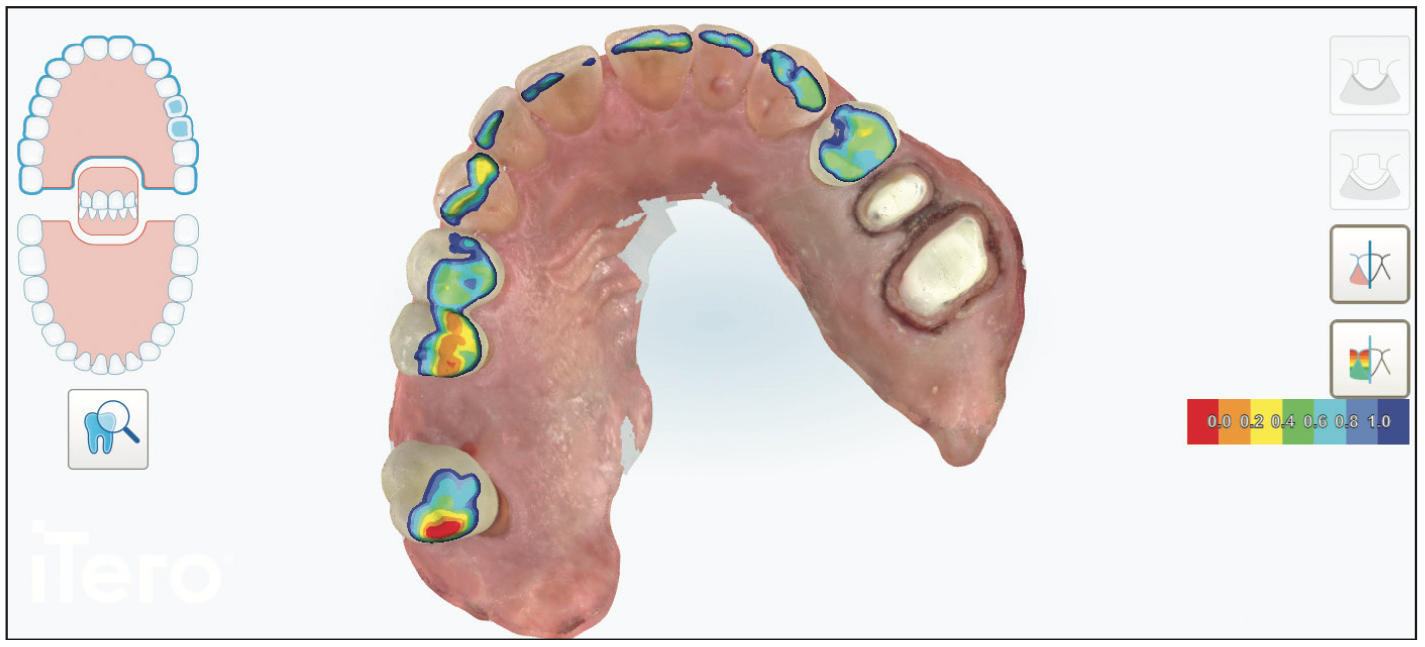
A 72-year-old patient who just had a kidney transplant was visiting during a normal hygiene appointment. Teeth Nos. 13 and 14 were badly damaged after previous 20-year-old crowns had come off several months prior. Though our patient was not experiencing any discomfort, radiographic and iTero Element 5 (Align Technology) scan imaging showed deep decay close to the pulp (Figures 1 and 2). Given that the patient was losing an upper right periodontally involved tooth with future implant procedures, he was eager to restore these teeth as soon as possible so he could chew on his left side during implant surgery and restoration.

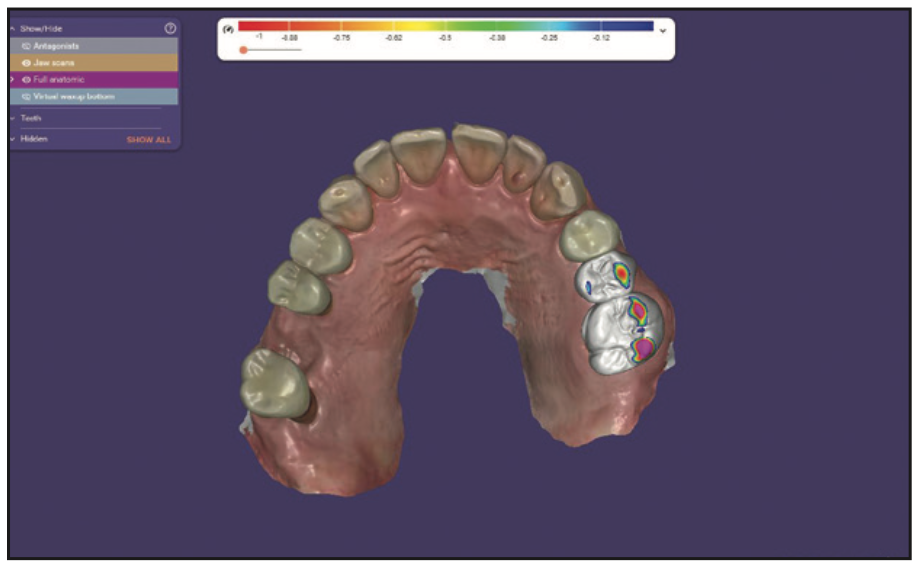
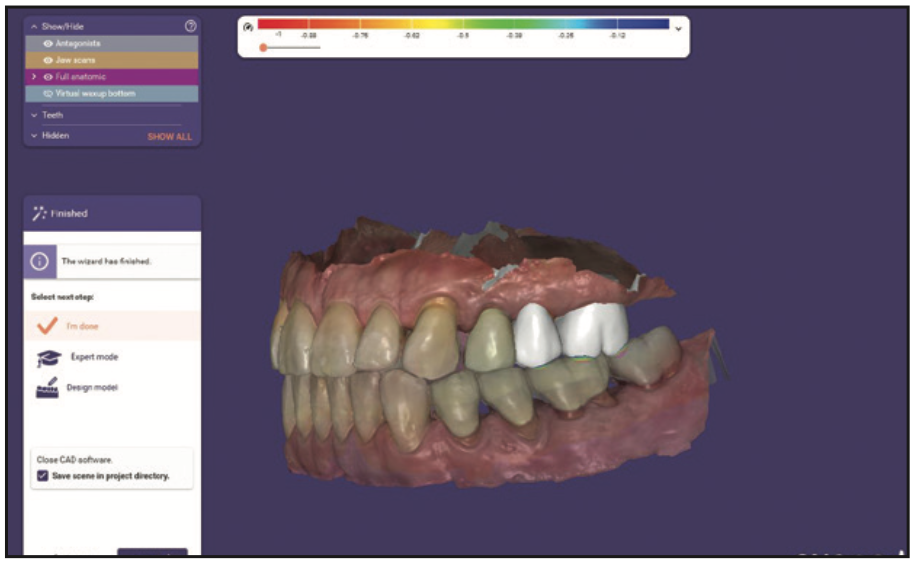
Fortunately for our patient, we could see him the next day. In order to be fully prepared for his visit, we needed to digitally wax-up the damaged teeth to ideal contours. Using ChairsideCAD (exocad), we inserted the 2 iTero STL files to be virtually mounted. Selecting the Wizard mode, we utilized the Tooth Placement function to begin the wax-up of Nos. 13 and 14. With some fine-tuning of the gingival margins and occlusal contacts using the free form function in the Expert mode, the wax-up was completed in about 10 minutes (Figures 3 to 5).
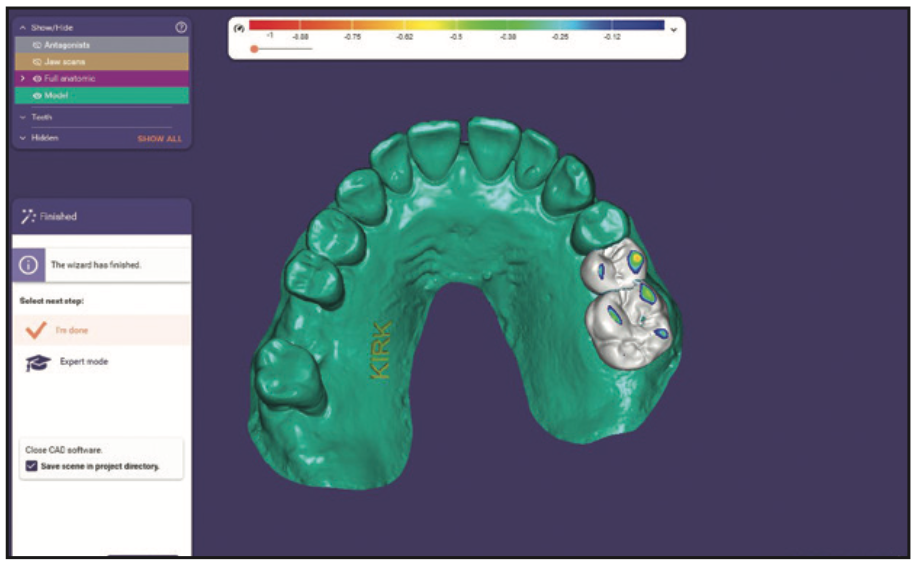
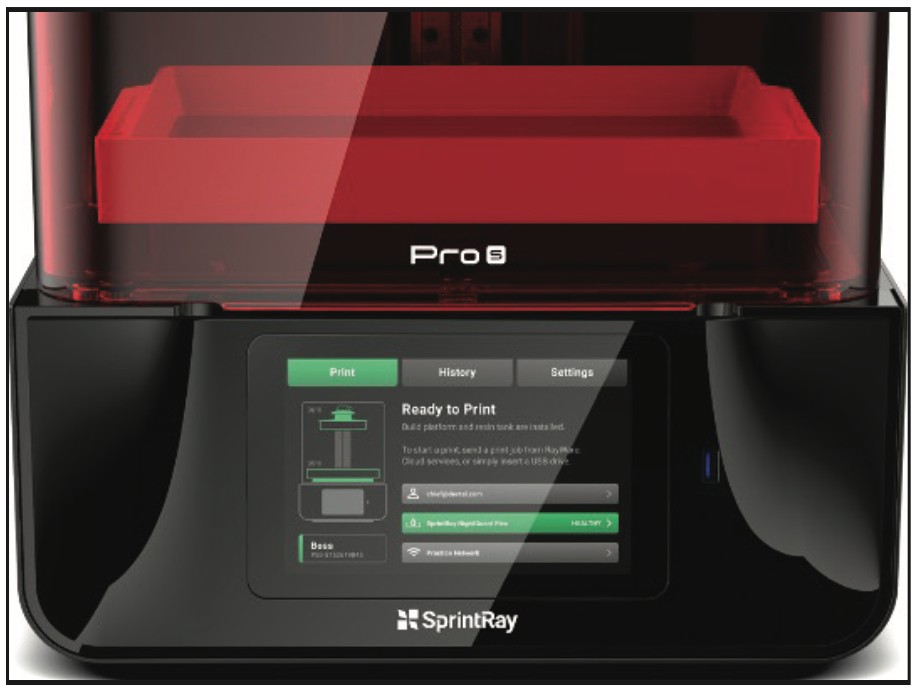
Creating a hollow model in exocad (to save resin usage) is easy using the Model alignment in function. Automatically, a file was ready to send to our Pro95S SprintRay printer (Figure 6). There are 2 special features of this printer that help improve the efficiency of the process. The first is a special heating element in the platform to speed up the curing. Secondly, using the “Bolt” mode, the platform moves with greater speed so that the layering of the model goes faster. The advantage is printing 20% faster using these qualities, and the model printing can be achieved in just over a half hour. Immediately after the printing, the platform was moved to the Pro Wash/Dry processing machine for a 10-minute 90% alcohol treatment to remove any excess resin. The model was removed from the platform and placed in the ProCure 2 light box for 10 minutes. In about an hour, a wax-up and a clean, cured hard resin model were digitally created, and an accurate model was produced.
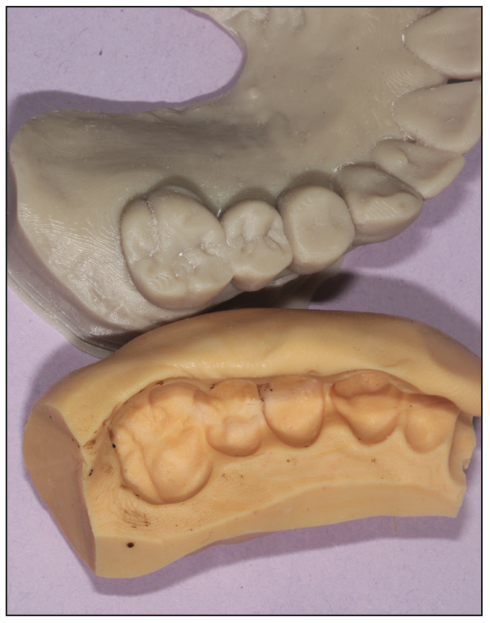
With this new model, a putty matrix was made with Matrix Form 70 putty material (Anaxdent) using half of a scoop of A and B, kneading it thoroughly and placing it over the model to harden for 30 minutes. After hardening, the matrix was carefully trimmed to avoid any interferences with seating on the model and, ultimately, the mouth (Figure 7).
After local anesthesia with The Wand (Milestone Scientific) in isolation with a large Isolite (Zyris), careful removal of the decay was performed with a high-speed handpiece and the LightWalker erbium tipless laser (Fotona) at 500 mJ and 12 Hz with a 50/50 air/water mix until hard tooth structure was reached.
Because of the amount of missing tooth structure, TMS minim pins (COLTENE) were placed on improving biomechanics. An indirect pulp cap was created with the erbium laser and Ceramir Protect LC (Doxa), which is moisture tolerant and has been shown to create calcium release and high pH value to promote the formation of hydroxyapatite and tertiary dentin (Figure 8). After carefully microetching the pins and the dentin with aluminum oxide using the PrepStart (Zest Dental), the patient rinsed with Consepsis (Ultradent Products) followed by water and drying while keeping the surface moist. All-Bond Universal (BISCO) was painted on with 2 coats, dried from a distance, and cured for 30 seconds.
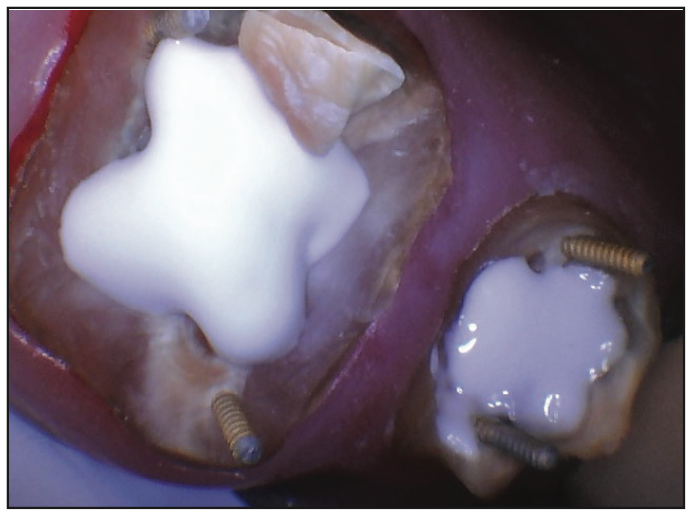
LuxaCore Z opaque (DMG) was placed in increments of 2 to 3 mm to maximize strength and optimize the feel of cutting like dentin as well as the opaque improving visualization of tooth structure for marginalization (Figure 9).
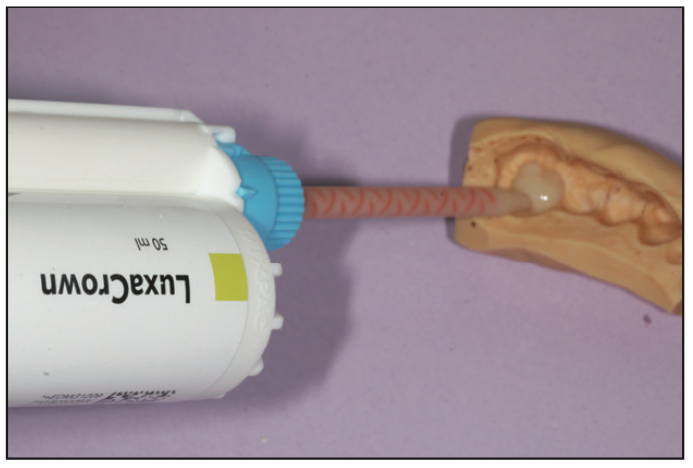
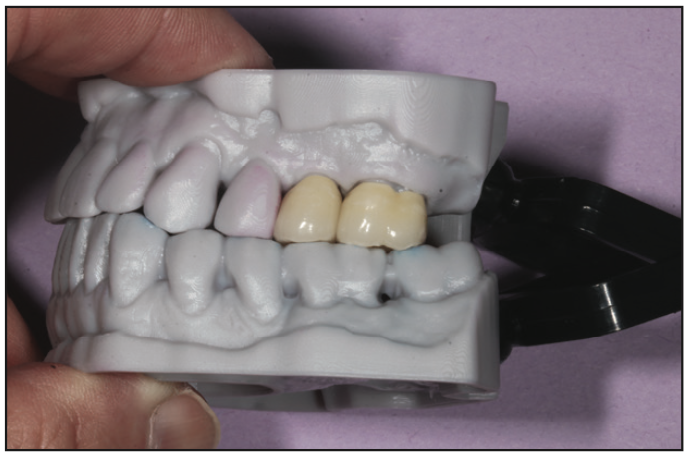
After the buildups, tooth preparation was performed with gingival retraction to fully expose the margins. Digital impressions were taken with iTero (Figure 10) and sent to the lab with detailed instructions, including shade and a subsequent provisional model. Using the putty matrix, LuxaCrown (DMG) was carefully injected into the teeth positions for our preps (Figure 11). The matrix was placed over the upper left quadrant, and the Bis-acryl material was allowed to harden for 70 seconds. The provisionals were removed and contoured to the anatomical ideal with attention to accuracy, contour, and embrasure form to allow for ideal hygiene home care procedures by the patient. Cementation was carefully performed using isolation to place Consepsis, GLUMA (Kulzer), and Temp Advantage (GC America). Detailed instructions were given to our patient, as well as information about the pulp cap procedure (Figure 12).
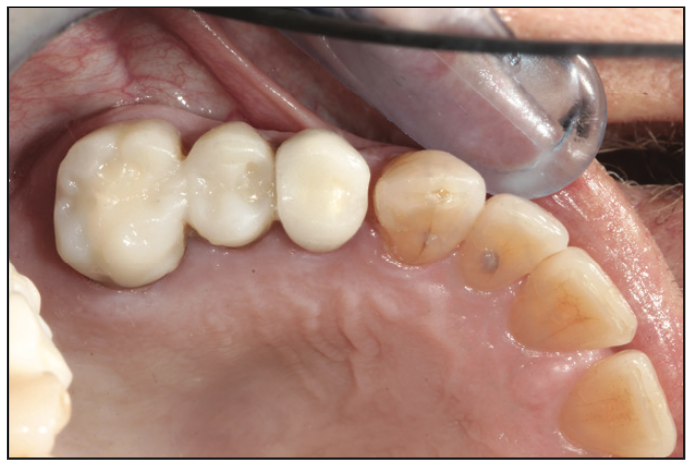
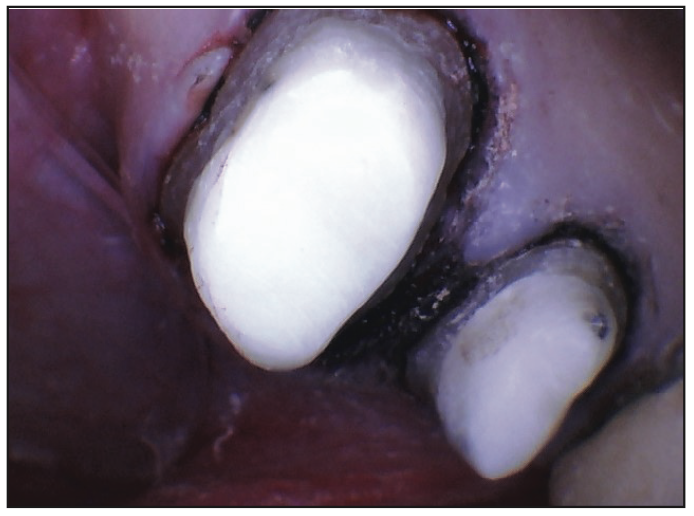
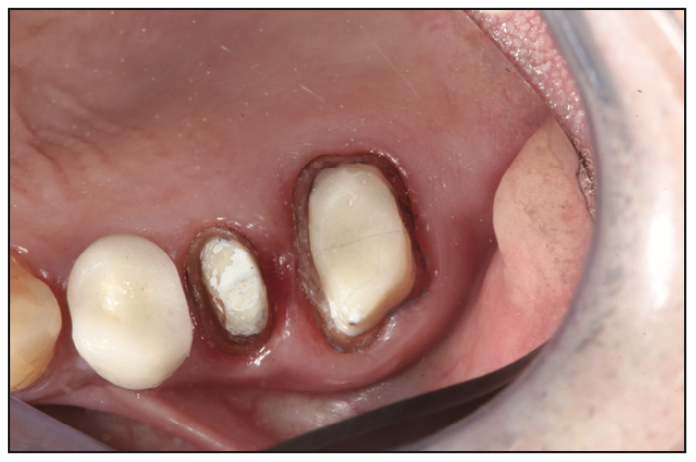
After the restorations were returned from the lab (Figure 13), the patient was anesthetized, and provisionals were removed. It is always a pleasure to see healthy tissue after a few weeks of provisionalization (Figure 14). The layered zirconia crowns were placed, contacts were checked with floss, and margins were verified with bite-wing x-rays. Occlusion was carefully checked in centric occlusion using TrollFoil paper (TrollDental USA). Excursive contacts were not evident.
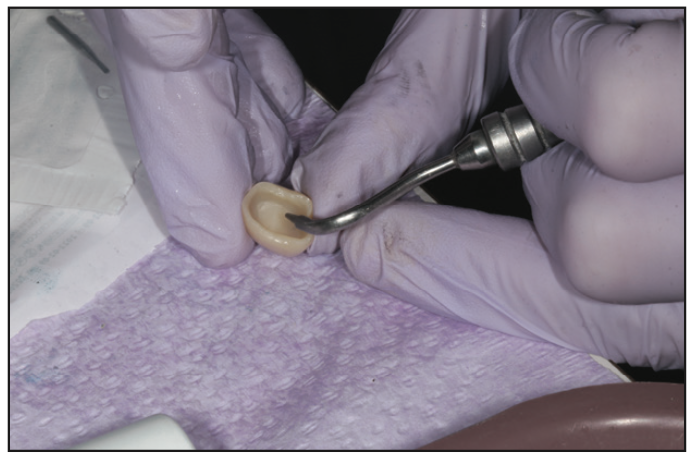
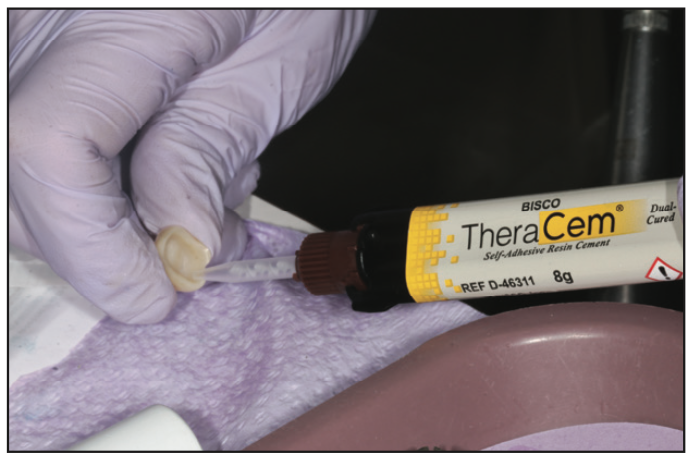
Cementation of zirconia begins with air abrasion using aluminum oxide on the intaglio of the crowns (Figure 15). This is followed by placing a thin layer of MDP using Z-Prime Plus (BISCO) and leaving it in the crowns for 20 seconds. Excess liquid is gently removed with air and placed to the side and covered to avoid contamination. Under isolation, the 2 structures are treated with air abrasion, followed by a rinse with Consepsis and then water. After gentle air drying that did not desiccate, GLUMA was coated on both teeth for 10 seconds and air dried. To enhance remineralization of the tooth structure, TheraCem cement (BISCO) was used as a luting agent (Figure 16). After placement and firm bite pressure, the excess cement was cured buccally and lingually for 5 seconds per surface. Using a curette and scaler, followed by floss, all excess cement was removed completely (Figure 17).
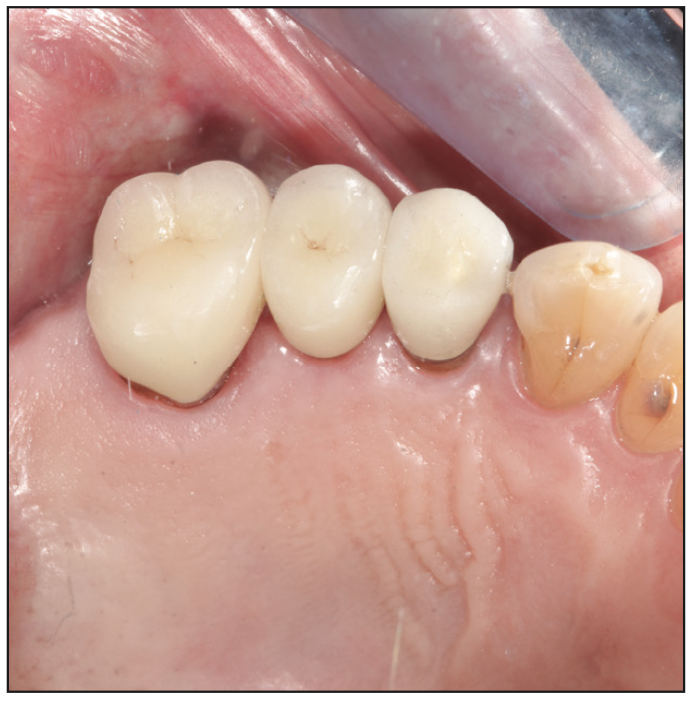
Our patient was amazed about how natural the crowns looked and felt. He was very appreciative that we could save his teeth with efficiency as well.
CONCLUSION
Today, better restorative materials and digital dentistry have created a perfect storm for reliable and time-saving techniques to help dentists serve their patients better than ever. That is not to say that previous care was inferior. It is a testament that having the power to scan digitally, design, and print makes complex problems simpler to solve. Everyone benefits from this enhancement. Yet the careful analog treatment of teeth and the output of restorations will always be the final standard to be measured in the long run.
REFERENCES
1. Mangano F, Gandolfi A, Luongo G, et al. Intraoral scanners in dentistry: a review of the current literature. BMC Oral Health. 2017;17(1):149. doi:10.1186/s12903-017-0442-x
2. Sulaiman TA, Lawson NC. Diagnosing a failed impression: common errors and how to overcome them. Compendium. 2019;40(3).
ABOUT THE AUTHOR
Dr. Flax is internationally known for his leadership in cosmetic dentistry. An accredited member and past president of the American Academy of Cosmetic Dentistry, he has lectured and been published in Europe, Japan, Canada, and the United States on lasers, smile design, and advanced restorative techniques to enhance the skills of dental teams in making their care world-class for their patients.
Recently, Dr. Flax published a consumer book called A Smile is Always in Style to help those looking for a better smile and dental wellness to be more educated and savvier with their choices for the best results. Proceeds from the book go to educational scholarships. He can be reached at [email protected].
Disclosure: Dr. Flax reports no disclosures.